2026 Guide: Best Flutter iOS Build Environment for Cross-Platform Devs
The Cross-Platform Dilemma: Great Code, No Way to Build
You've spent weeks perfecting your app using Flutter or React Native. On Android, it runs flawlessly. But high-fives stop when you hit the "Apple Wall." To generate a .ipa file, handle 2026-standard code signing, or manage complex CocoaPods dependencies, a machine running macOS is non-negotiable.
For many independent developers, the Flutter iOS build environment is a massive hurdle. You are faced with a choice: drop $1,000+ on hardware you only need for 5% of the development cycle, or find a workaround.
The conclusion is clear for 2026: A dedicated remote Mac rental is the most efficient solution. It provides the native performance of Apple Silicon without the upfront investment. This article will compare your options and provide a roadmap to setting up your own 2026 iOS build server.
Pain Points of Cross-Platform iOS Deployment
Building for the Apple ecosystem while using Windows or Linux introduces several critical "bottlenecks":
- Mandatory macOS Hardware: You cannot compile an iOS binary (IPA) on Windows. Even with cross-platform frameworks, the final "linking" phase requires the Xcode toolchain, which is exclusive to macOS.
- CocoaPods and Dependency Hell: Flutter and React Native rely heavily on native plugins. Resolving
pod installerrors or architecture mismatches (x86_64 vs. arm64) requires a local terminal on a Mac. - The Hidden Cost of Storage: Xcode, its simulators, and the derived data folders easily consume 60GB–100GB of disk space. On a base-model Mac mini, you’ll run out of room before you even finish your first build.
- Hardware Depreciation: Buying a Mac exclusively for "packaging" is a poor financial move. By the time your next project starts, the hardware may already be outperformed by newer M-series chips.
2026 Comparison: VM vs. CI Service vs. Remote Mac
In 2026, developers generally choose from three paths to manage their React Native remote Mac compilation.
| Feature | macOS Virtual Machine (VM) | Cloud CI/CD (GitHub Actions) | Remote Mac Rental |
|---|---|---|---|
| Performance | Very Poor (no GPU accel) | Medium (shared resources) | Excellent (Native M2/M3) |
| Debugging | Difficult (slow UI) | Impossible (CLI only) | Native (VNC/Screen Share) |
| Setup Time | 4+ hours (complex) | 1 hour (scripting) | 10 minutes |
| Cost | Free (but unstable) | High (per-minute billing) | Low (Flat weekly/monthly) |
| Root Access | Yes | No | Yes (Full Control) |
While GitHub Actions is great for automated testing, it fails when you need to "fix" a build error visually in Xcode. This is why cross-platform framework iOS listing efforts often stall on CI—you can't see why the layout is breaking in the simulator.
Step-by-Step: Setting Up Your Flutter iOS Build Environment
To get your app from your local machine to the App Store using a remote Mac, follow this optimized 2026 workflow:
1. Secure Your Remote Mac Instance
First, visit proxymac.com to select a plan. For Flutter and React Native, an M2 or M3 instance with at least 16GB of RAM is recommended to handle the overhead of the Dart/JavaScript bundlers alongside Xcode. Our pricing page provides flat-rate options that are far more predictable than "pay-per-minute" cloud builders.
2. Connect via SSH and VNC
Once your instance is ready, use the console to retrieve your credentials.
* SSH: Best for running CLI commands like flutter build ios.
* VNC/Screen Sharing: Best for opening .xcworkspace files to manage certificates and launch the iOS simulator.
3. Install the Toolchain via Homebrew
Every professional 2026 iOS build server starts with Homebrew. Run the following in your remote terminal:
/bin/bash -c "$(curl -fsSL https://raw.githubusercontent.com/Homebrew/install/HEAD/install.sh)"
brew install cocoapods
brew install flutter # Or use fvm for version management
4. Clone and Prepare Your Project
Clone your repository. If you are using React Native, ensure you install the correct Node.js version using nvm.
git clone https://github.com/your-repo/your-app.git
cd your-app
flutter pub get
cd ios && pod install
5. Finalizing Build and Signing
Open the ios folder in Xcode via the VNC interface. Since you have root access, you can log in with your Apple ID to handle "Automatically manage signing." Run a test build to ensure everything is linked correctly. For many, this is the hardest part of how to pack Flutter without a Mac, but having a real macOS GUI makes it trivial.
Why Remote Mac is Better for Fixing Build Errors
When a build fails on a generic CI service, you get a 5,000-line text log. If a font is missing or a CocoaPod link is broken, you have to guess, commit, and wait for another 20-minute CI run.
On a remote Mac, you have a persistent environment. If the build fails, you open Xcode, see the red error highlight, fix it, and hit "Cmd + B." This "real-time" feedback loop saves hours of frustration. This is the primary reason professional independent developers prefer a dedicated Flutter iOS build environment over ephemeral cloud runners.
2026 Cost Analysis: Rental vs. Ownership
Is it cheaper to buy or rent in 2026? Let's look at the hard numbers.
- Buying a Mac Mini (M4, 16GB, 512GB): Approximately $899 + Tax. In two years, the resale value might be $450. Total cost of ownership: ~$450 plus electricity/maintenance.
- Renting a Remote Mac: If you only need to pack and upload your app for one month during the "release phase," you might spend roughly $40–$60.
- The Verdict: You would need to rent a Mac for over 18 consecutive months to equal the cost of buying one. For independent developers who release apps 3–4 times a year, the 2026 iOS build server rental model saves hundreds of dollars in capital expenditure.
Flexible Operations for the Modern Developer
Using a remote machine allows you to scale. If your app grows and requires a faster build, you don't need to sell your old Mac on eBay. You simply switch your subscription to a higher-tier M3 Ultra or M4 instance.
If you forget your password or need a clean slate, managing your environment is easy via the change password and help sections of our portal.
Conclusion: Stop Fighting the Hardware
Don't let the lack of a physical Mac stop your Flutter or React Native project from reaching the App Store. Buying hardware is a 2010s solution to a 2026 problem. Traditional local VMs are too slow for modern Xcode versions, and pure CI/CD services are a nightmare to debug.
A remote Mac rental offers the perfect middle ground: the full power of macOS, the convenience of the cloud, and a price point that fits an independent developer's budget. Instead of struggling with "how to pack Flutter without a Mac," start your build today. Visit proxymac.com and get your Flutter iOS build environment running in minutes. Reach the finish line and get your app on the App Store without the $1,000 entry fee.
FAQ
Further Reading
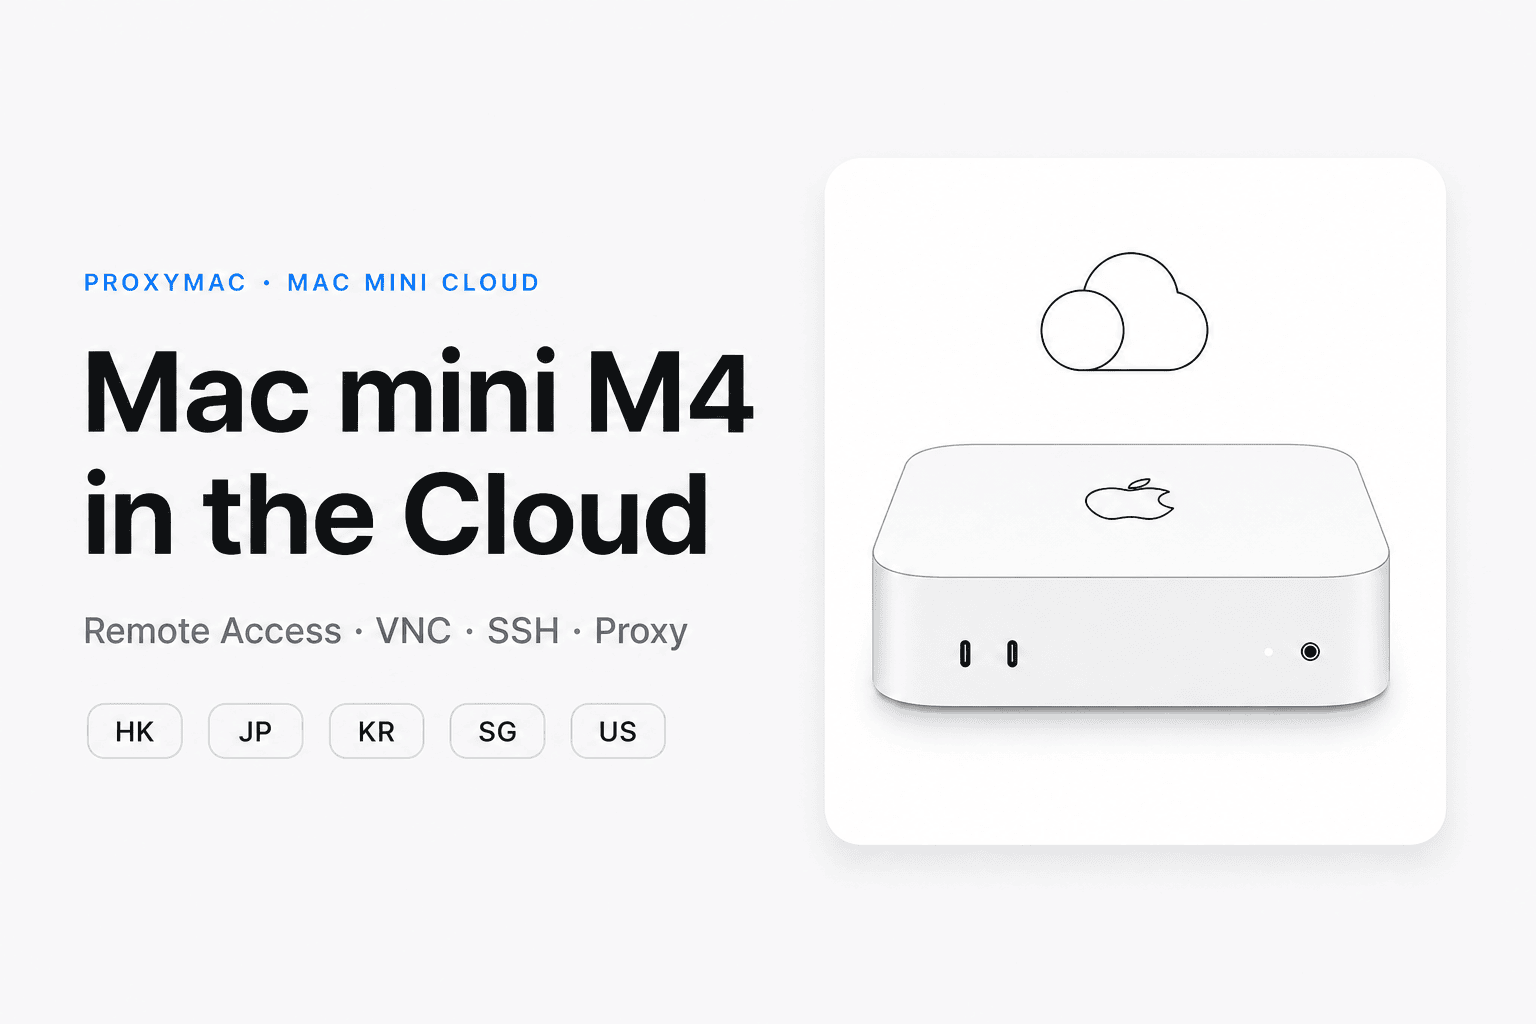
Accelerate Your iOS Pipeline with Dedicated M4 Power
Deploy a dedicated Mac mini M4 with 16GB RAM in under 5 minutes through our automated provisioning.
Enjoy up to 40% faster compilation speeds for Flutter and React Native builds compared to virtualized solutions.